Introduction to the Editor
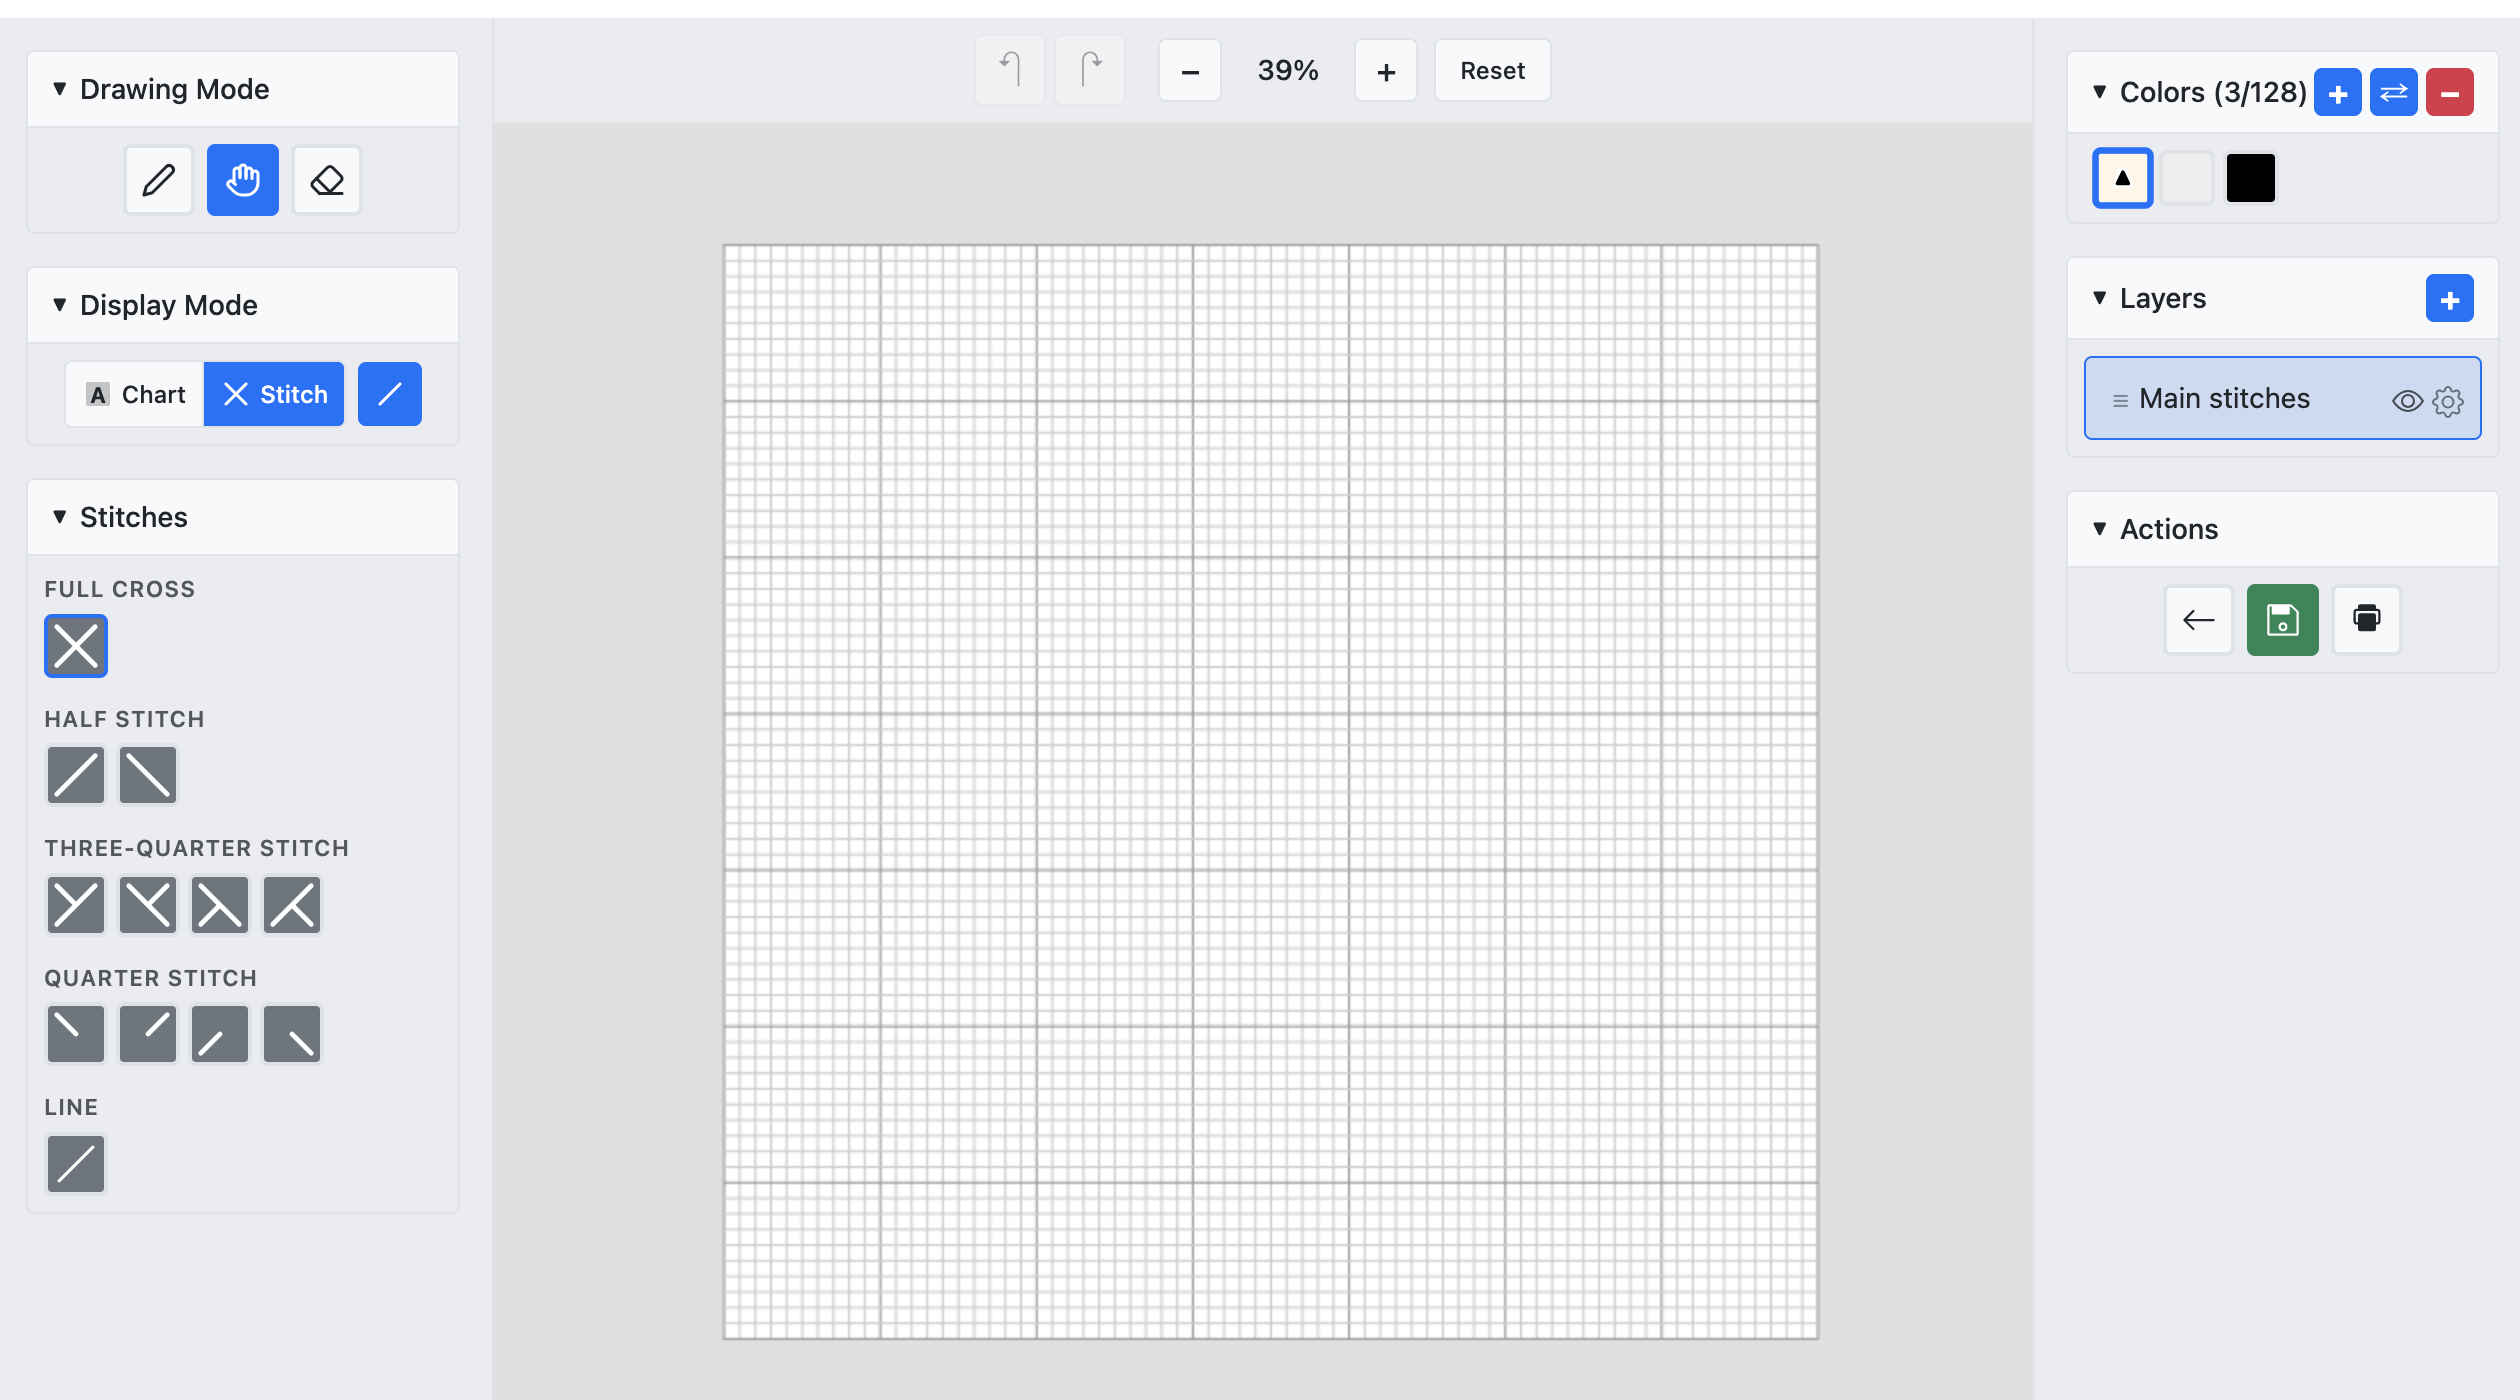
The editor is a 3-column layout: tools on the left, canvas in the center, and panels on the right.
Editor overview
The editor is split into three columns. The left toolbar has drawing modes, display modes, and stitch types. The center canvas is where you draw. The right panel shows the color palette and layers.
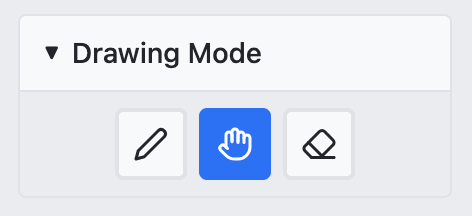
Drawing Mode
Switch between Draw (place stitches), Pan (scroll the canvas), and Erase (remove stitches) modes using the toolbar buttons.
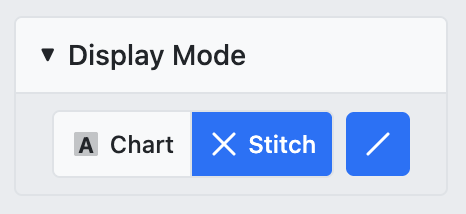
Display Mode
Choose how stitches appear on canvas: Chart (symbols on grid), Stitch (colored X shapes), or Line (backstitch lines).
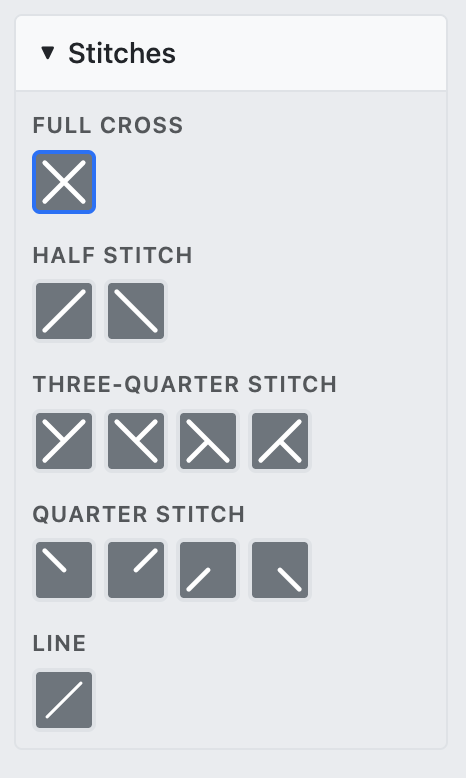
Stitch Types
Select which stitch type to place: Full Cross, Three-Quarter (4 corner variants), or Line (backstitch). Each type occupies different parts of a cell.
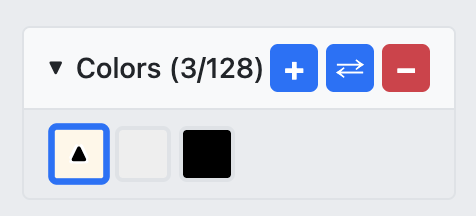
Color Palette
The right panel shows your project's color palette. Click a color to select it for drawing. Use the + button to add more colors from the vendor catalog.
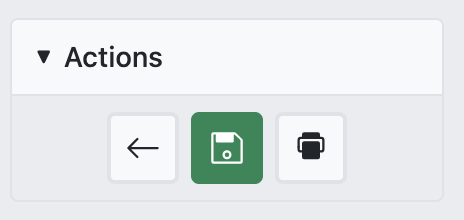
Actions
Use the action buttons to Undo changes, Save your project, or open Print preview. The project auto-saves every 5 minutes.
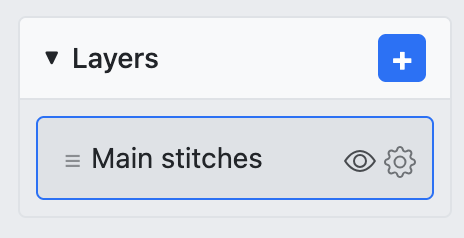
Layers Panel
The layers panel lets you manage multiple layers. Toggle visibility, reorder layers, and add new ones. Each layer has its own set of stitches.