Working with Layers & Image Conversion
Add layers, import reference images, and convert them into editable stitch patterns.
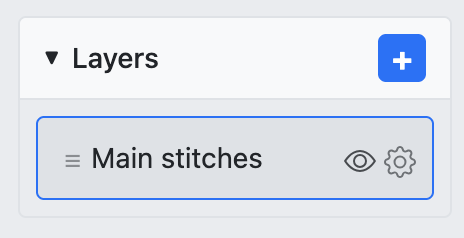
Add a new layer
In the Layers panel on the right, click the + button to add a new layer.
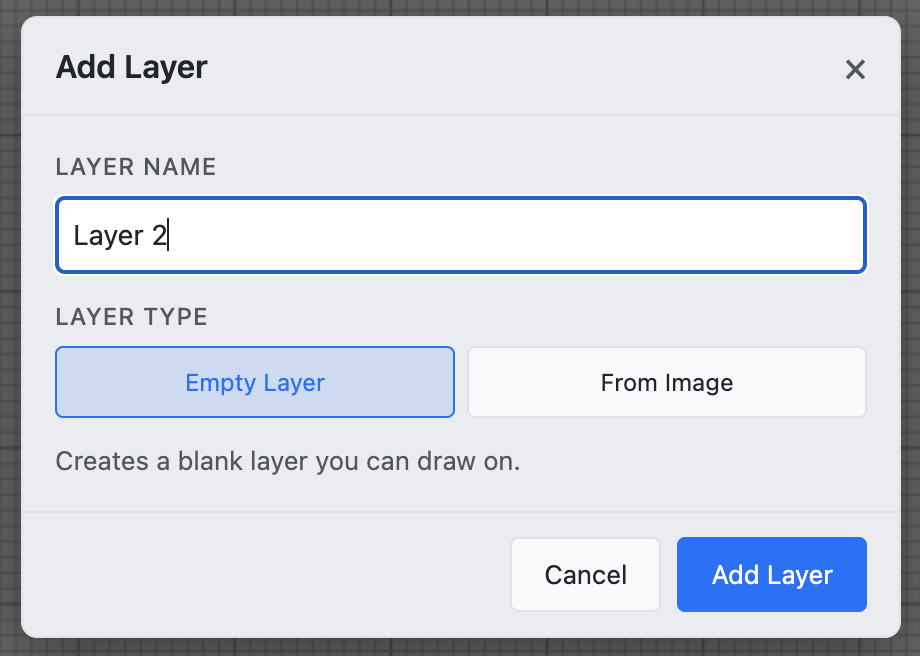
Choose layer type: Empty Layer
The Add Layer dialog appears. Choose Empty Layer to create a blank layer for drawing stitches from scratch.
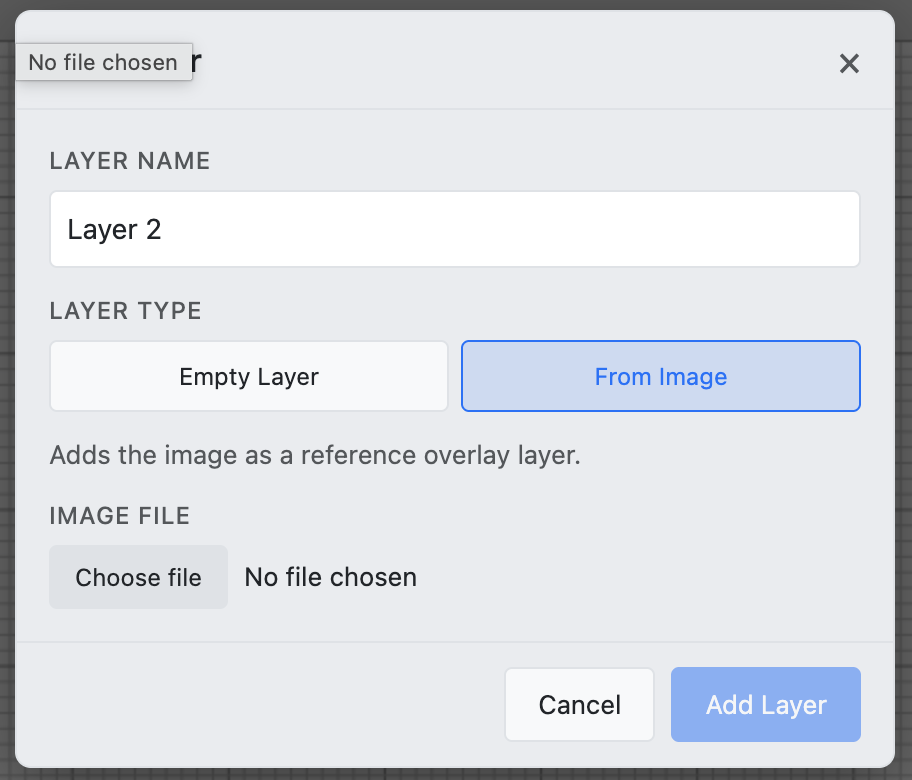
Choose layer type: From Image
Or choose From Image to upload a reference photo. This creates a reference layer that overlays the image on your grid.
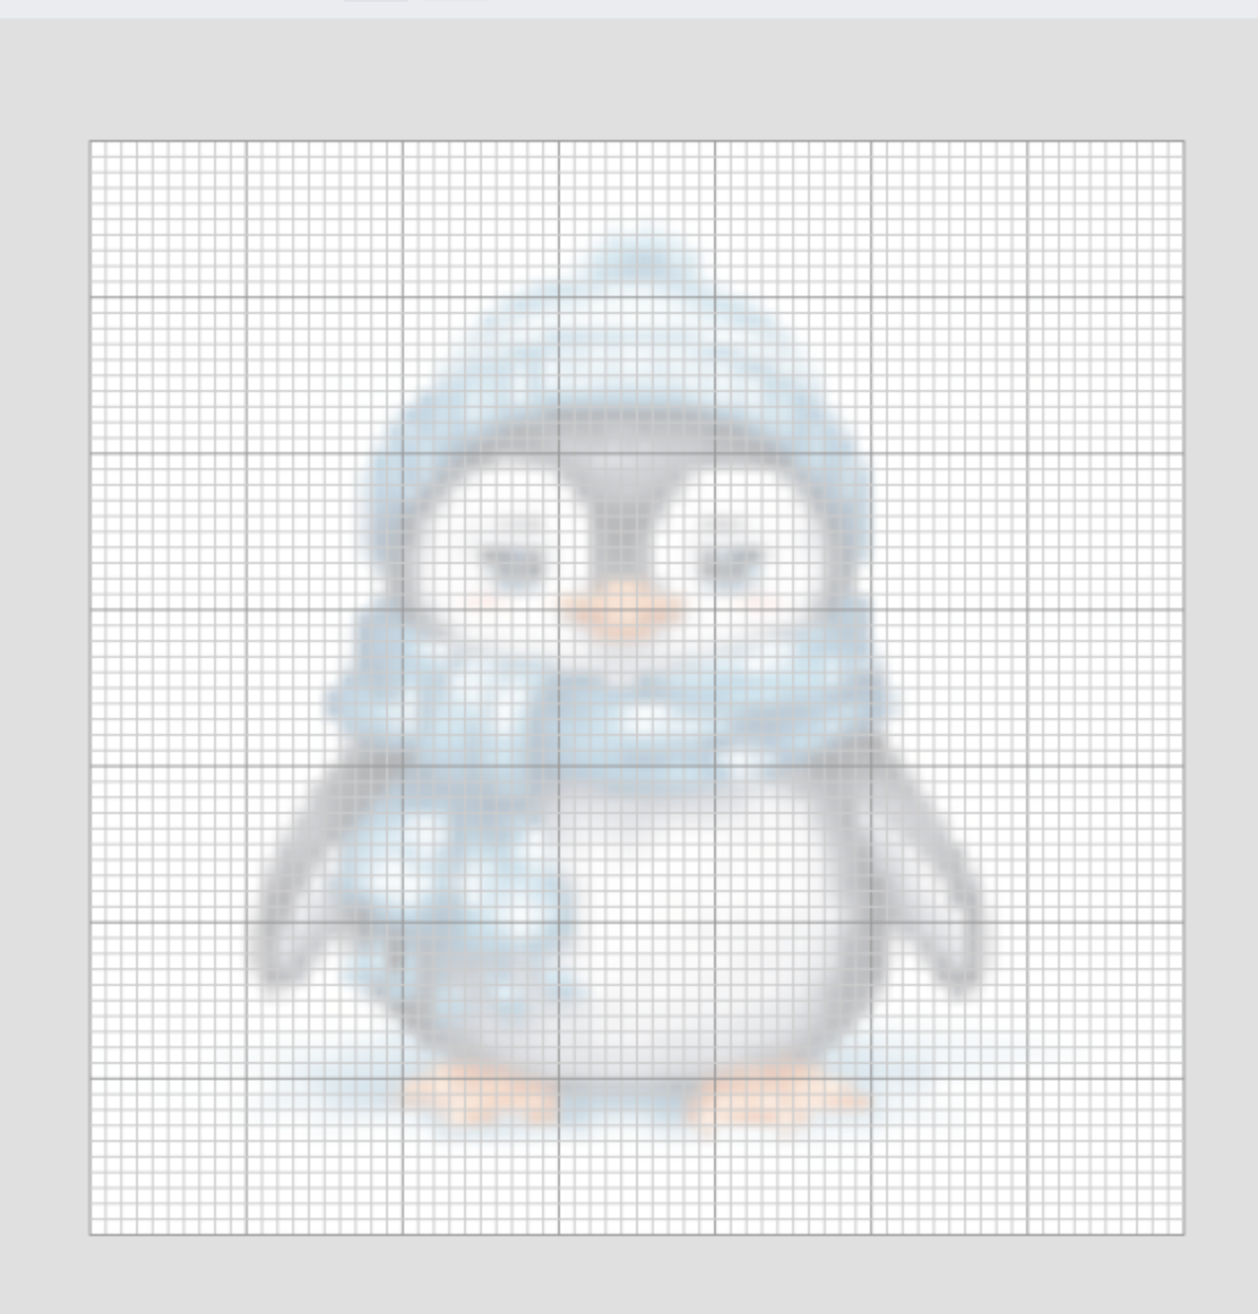
Reference image on the grid
The uploaded image appears as a semi-transparent overlay on the canvas. Use it as a guide while drawing stitches on other layers.
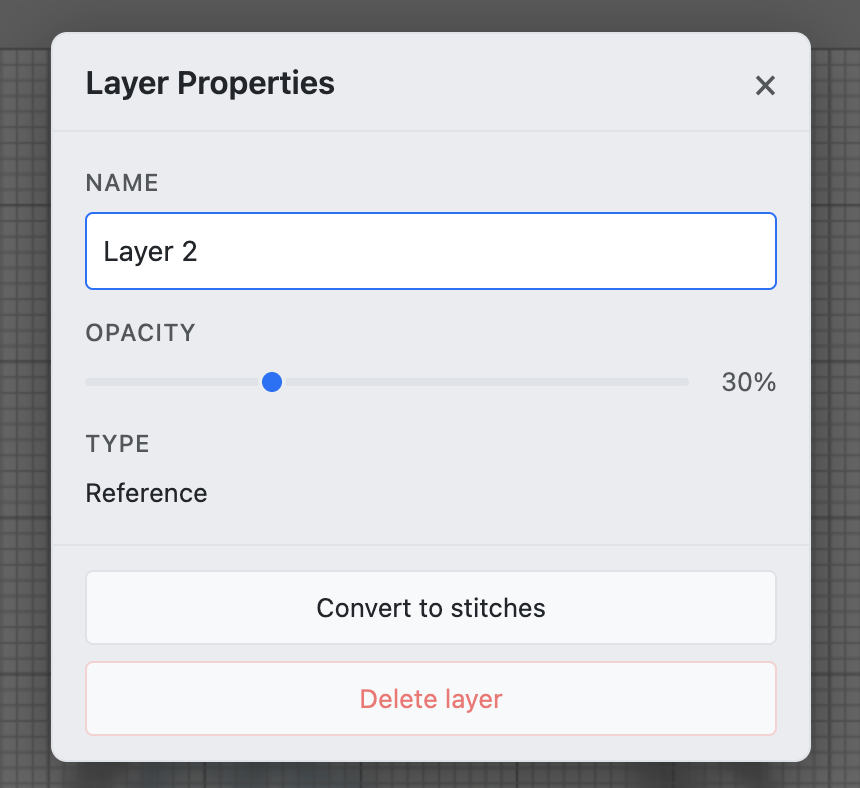
Convert to stitches
Open the layer properties and click Convert to Stitches. This analyzes the reference image and generates a stitch pattern from it.
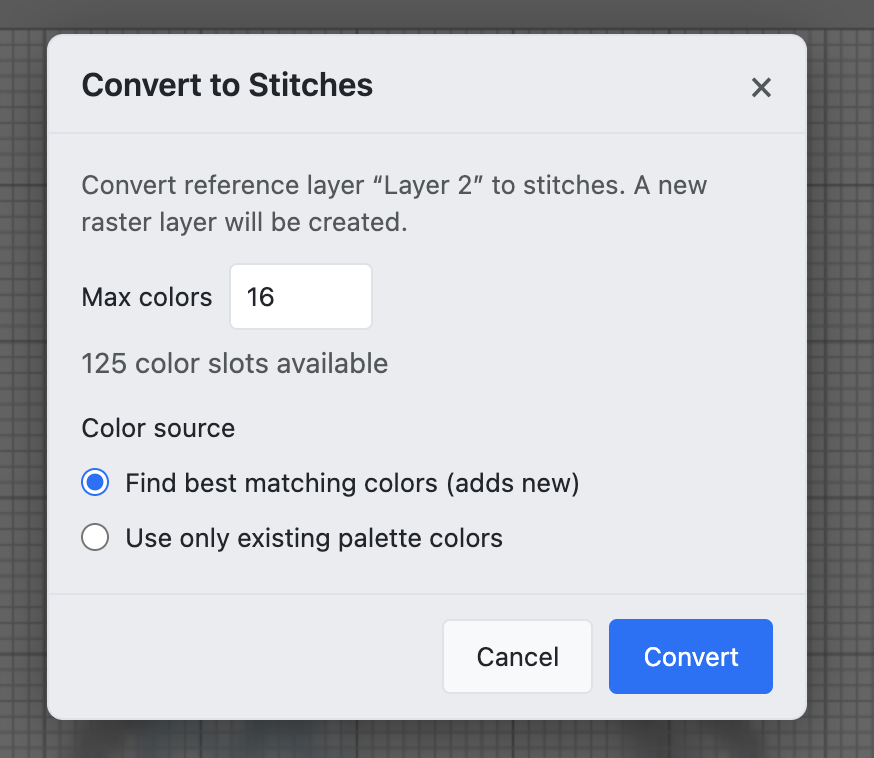
Conversion settings
Configure the conversion: set the maximum number of colors and choose the color source (from your palette or the vendor catalog). Click Convert to proceed.
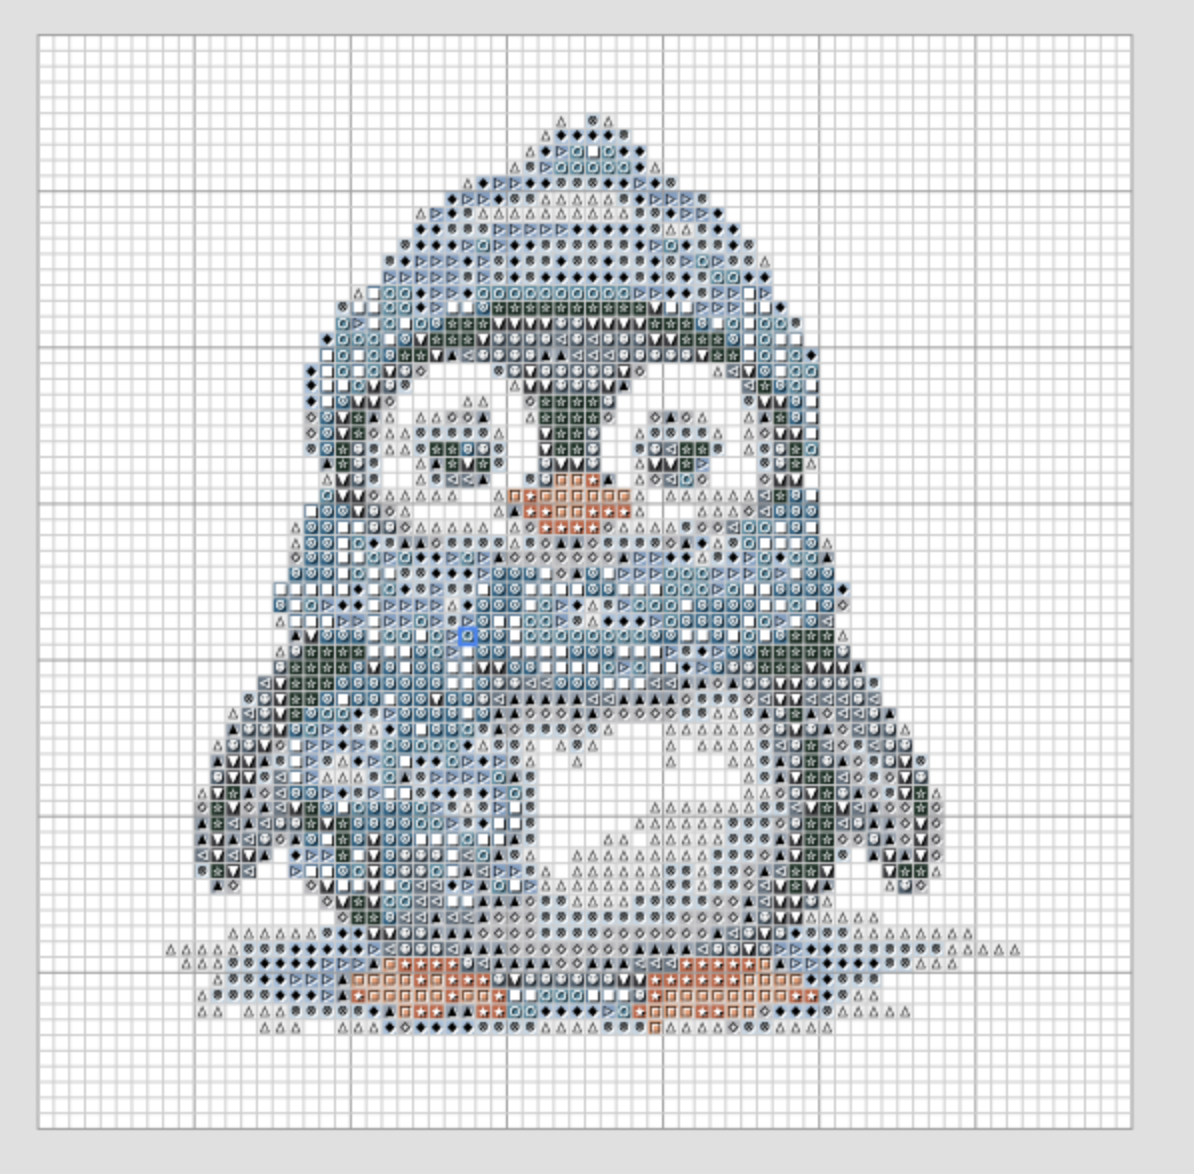
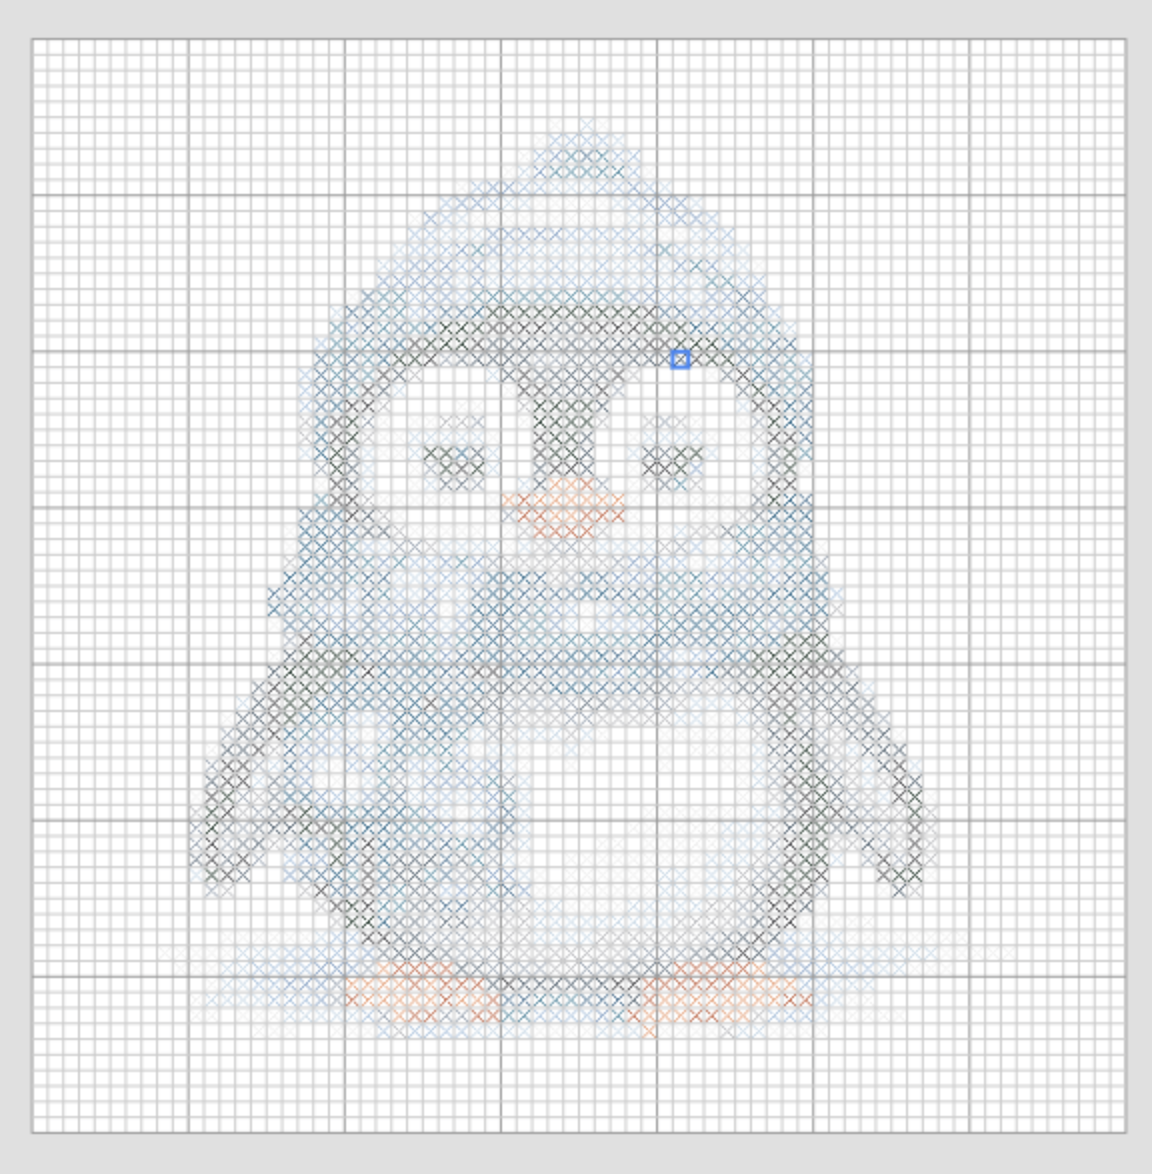
Result: Stitch view
After conversion, switch to Stitch display mode to see the colored cross-stitch pattern generated from your image.
Result: Chart view
Switch to Chart display mode to see the symbol grid. Each color has a unique symbol, making it easy to follow while stitching.