How to Create a Custom Cross-Stitch Pattern from an Image
Use OurStitch as your free online cross stitch chart maker to turn any picture into a stitchable pattern. This guide walks you through the Smart Image conversion, step by step.
Get your source image
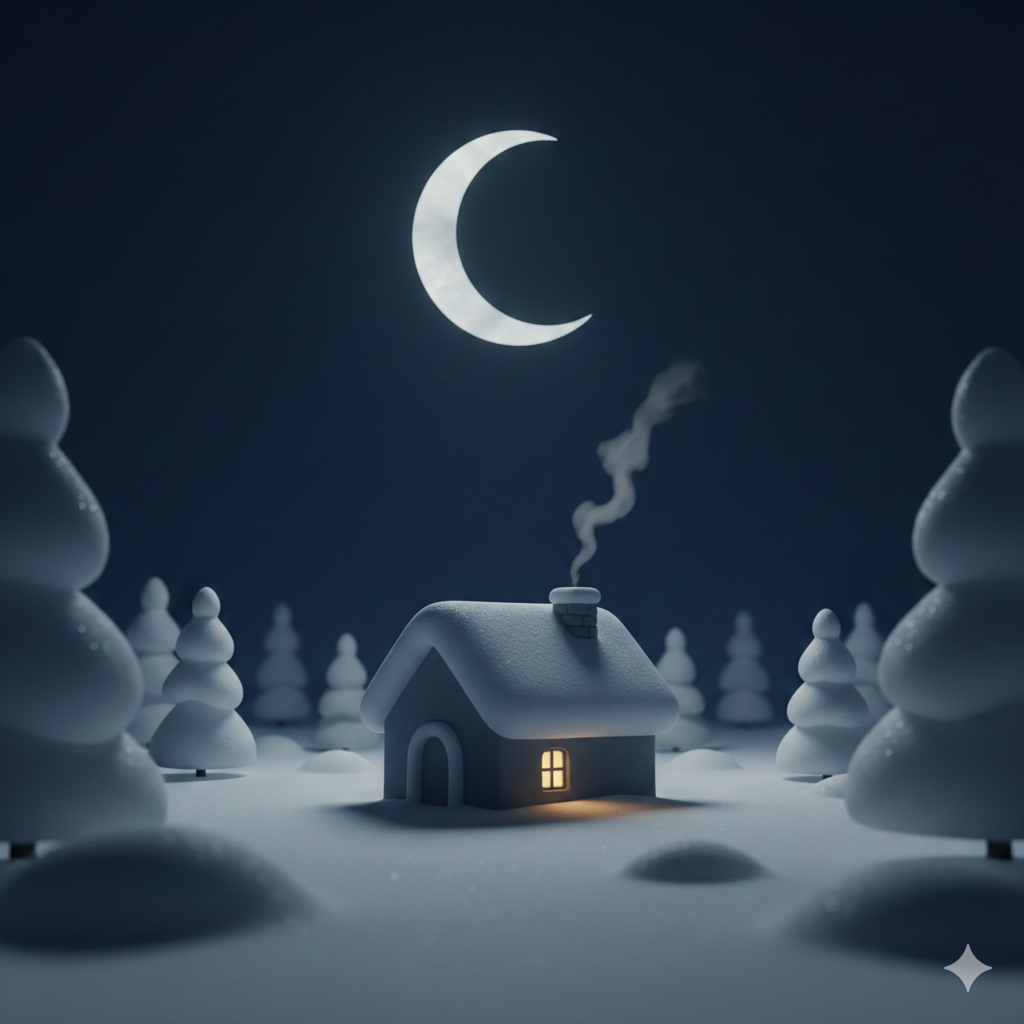
Start with any image you'd like to turn into a cross stitch pattern. You can use a personal photo, download a free illustration, or ask an AI image generator to create one for you. For this example, we asked Gemini to generate a cozy winter house with snow, trees, and a crescent moon.
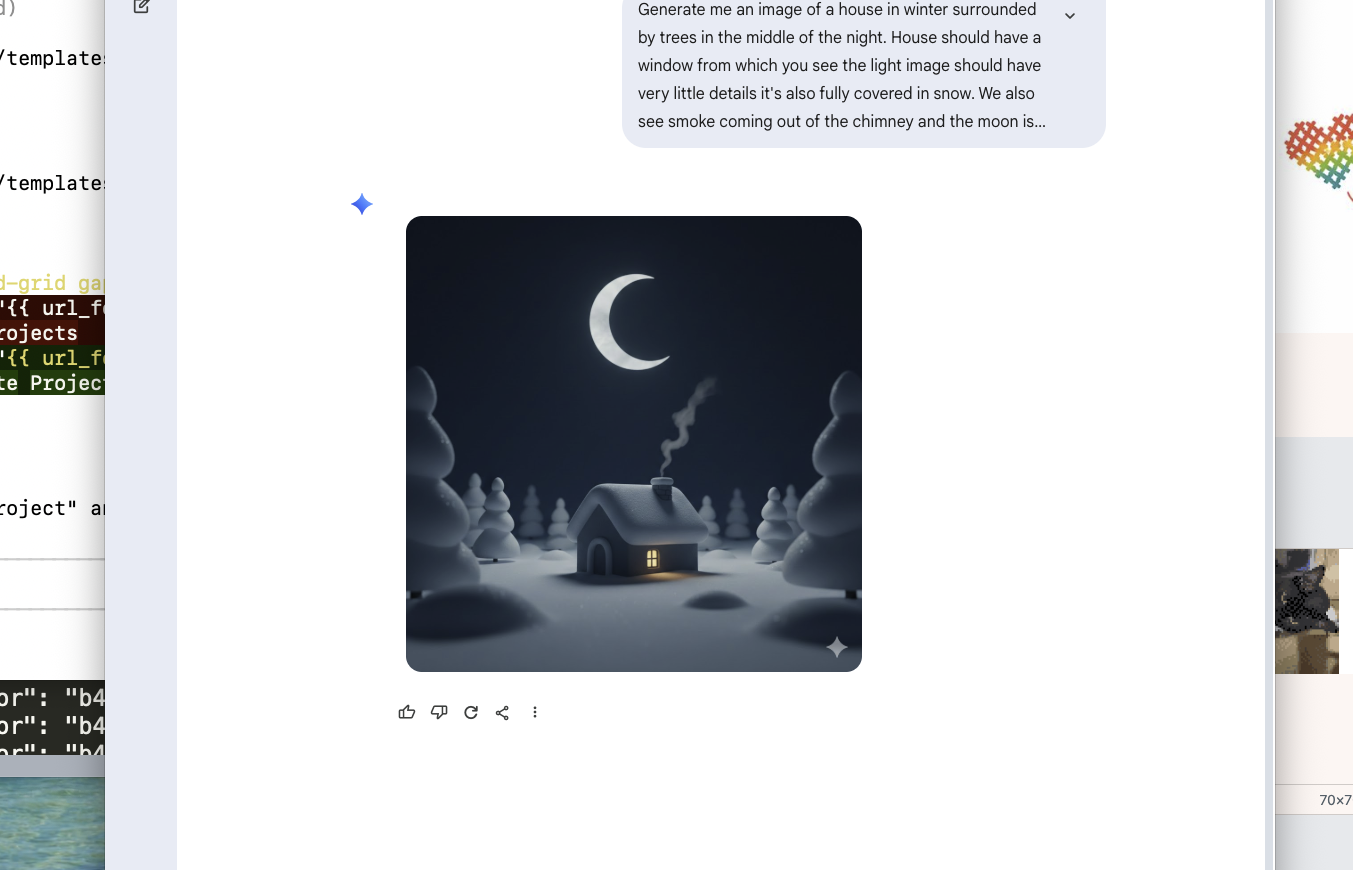
Here is the image we'll use — a 512×512 px illustration with soft lighting and minimal detail, which converts well into custom cross stitch patterns:
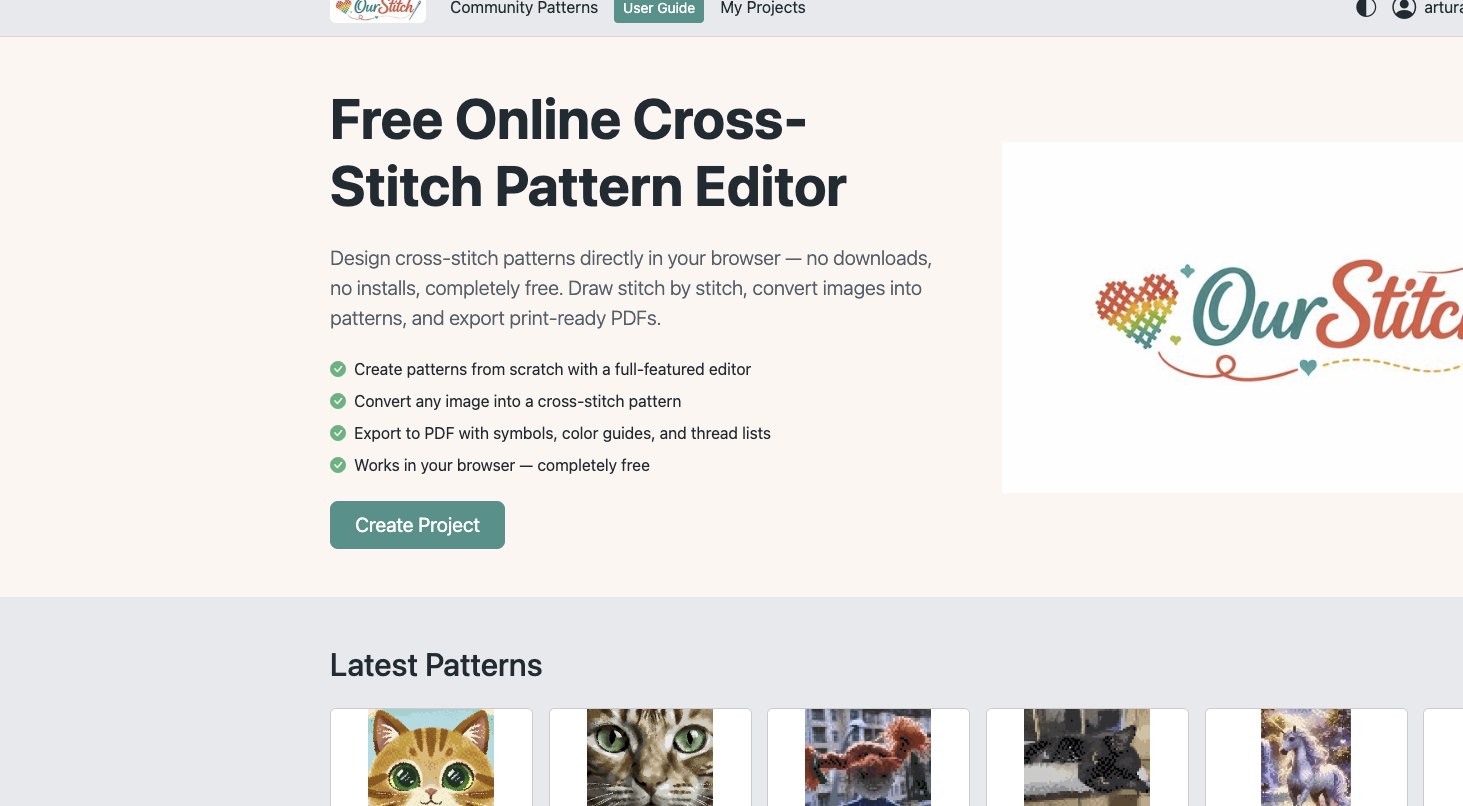
Click "Create Project" on the home page
Go to ourstitch.com and click the Create Project button. This launches the project creation wizard that will guide you through naming, sizing, and image conversion.
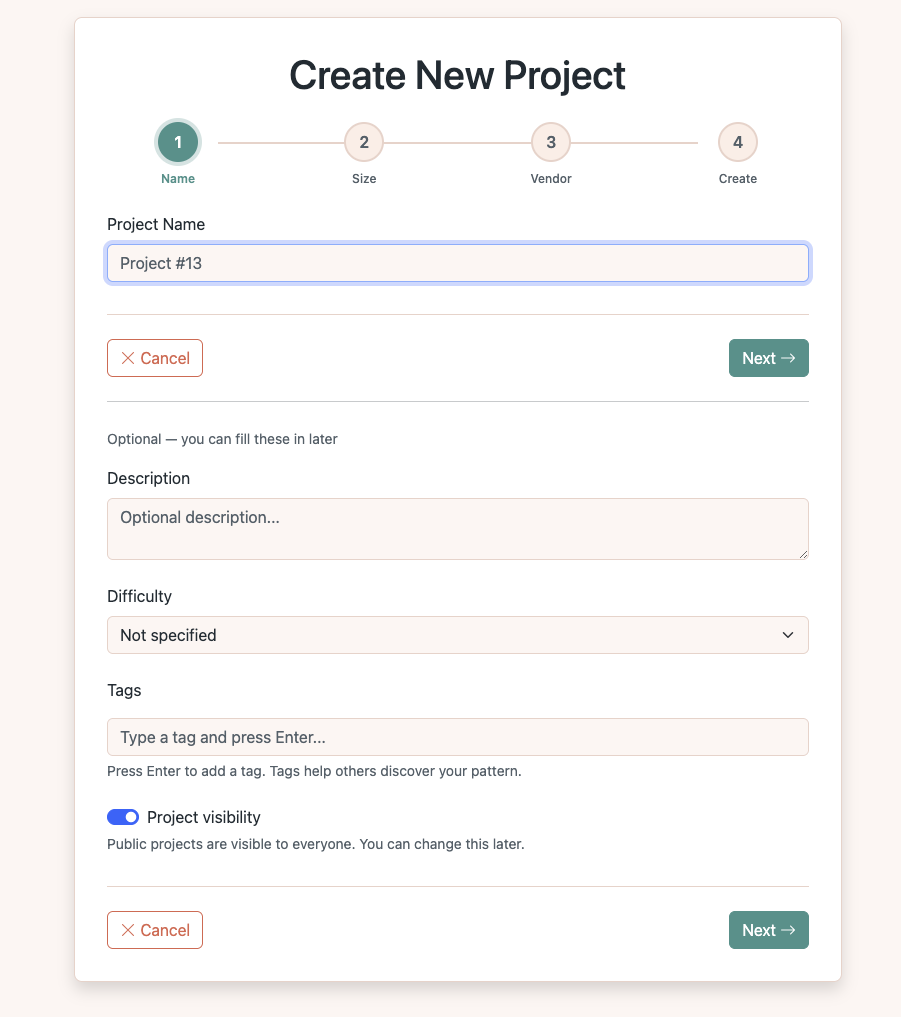
Name your project
Enter a project name and an optional description. You can also set difficulty level, tags, and visibility. Click Next to continue.
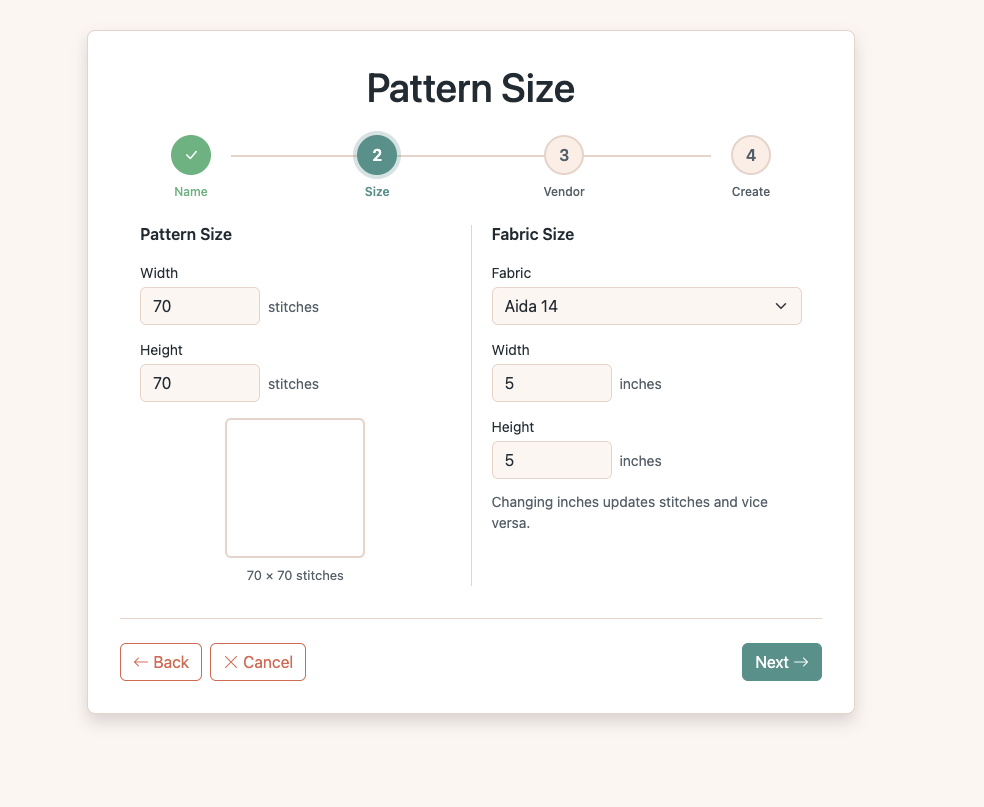
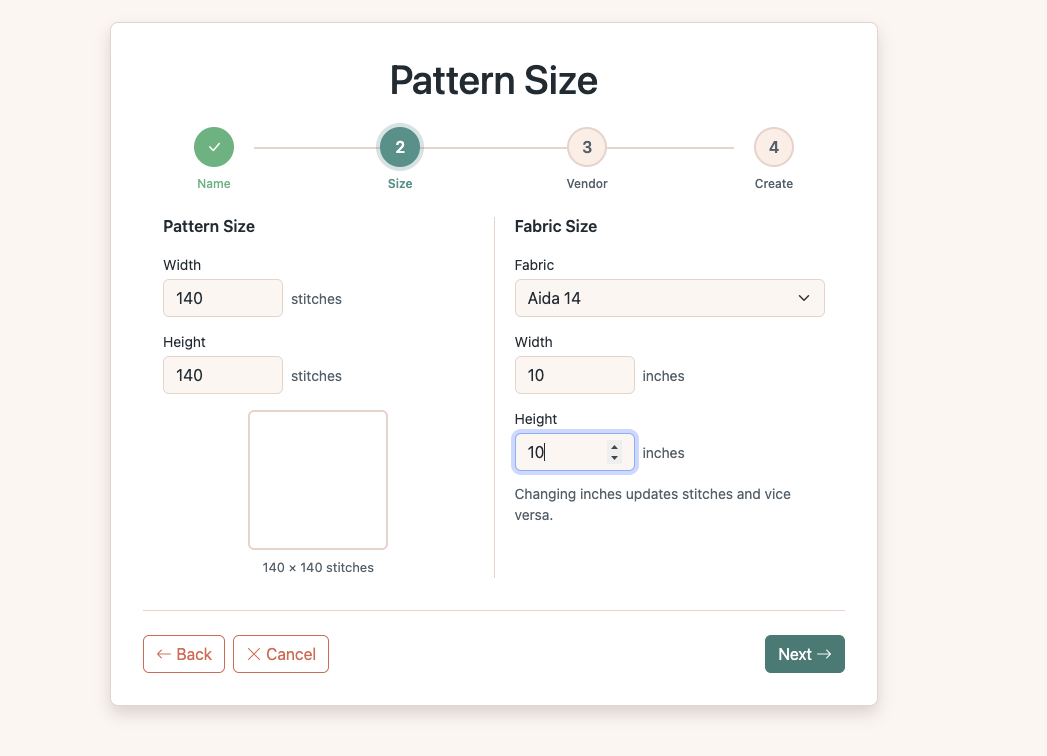
Set the pattern size
Choose your canvas dimensions in stitches or use the fabric size calculator on the right. Here we start with 70 × 70 stitches (5 × 5 inches on Aida 14). Don't worry if it's not perfect — you can come back and change it later.
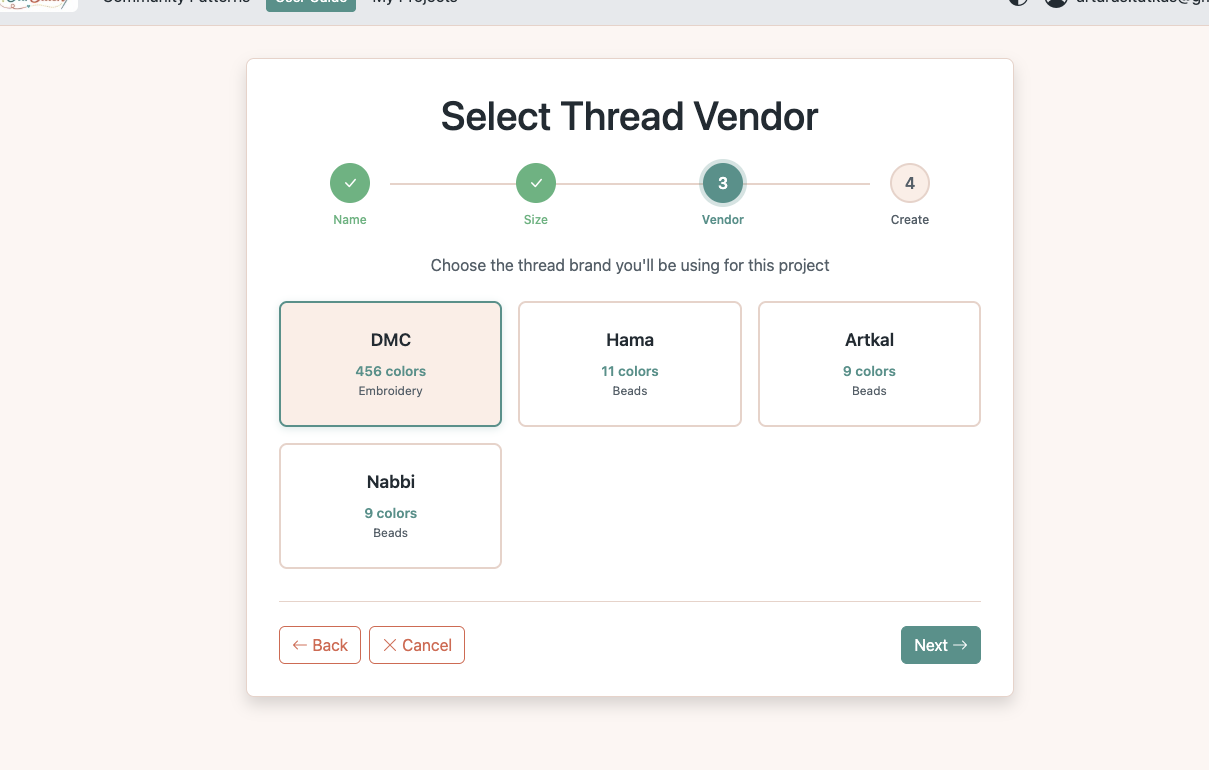
Select a thread vendor
Pick the thread brand you'll use for stitching. DMC is the most popular choice with 456 embroidery colors. The converter will match your image colors to the closest threads from this catalog.
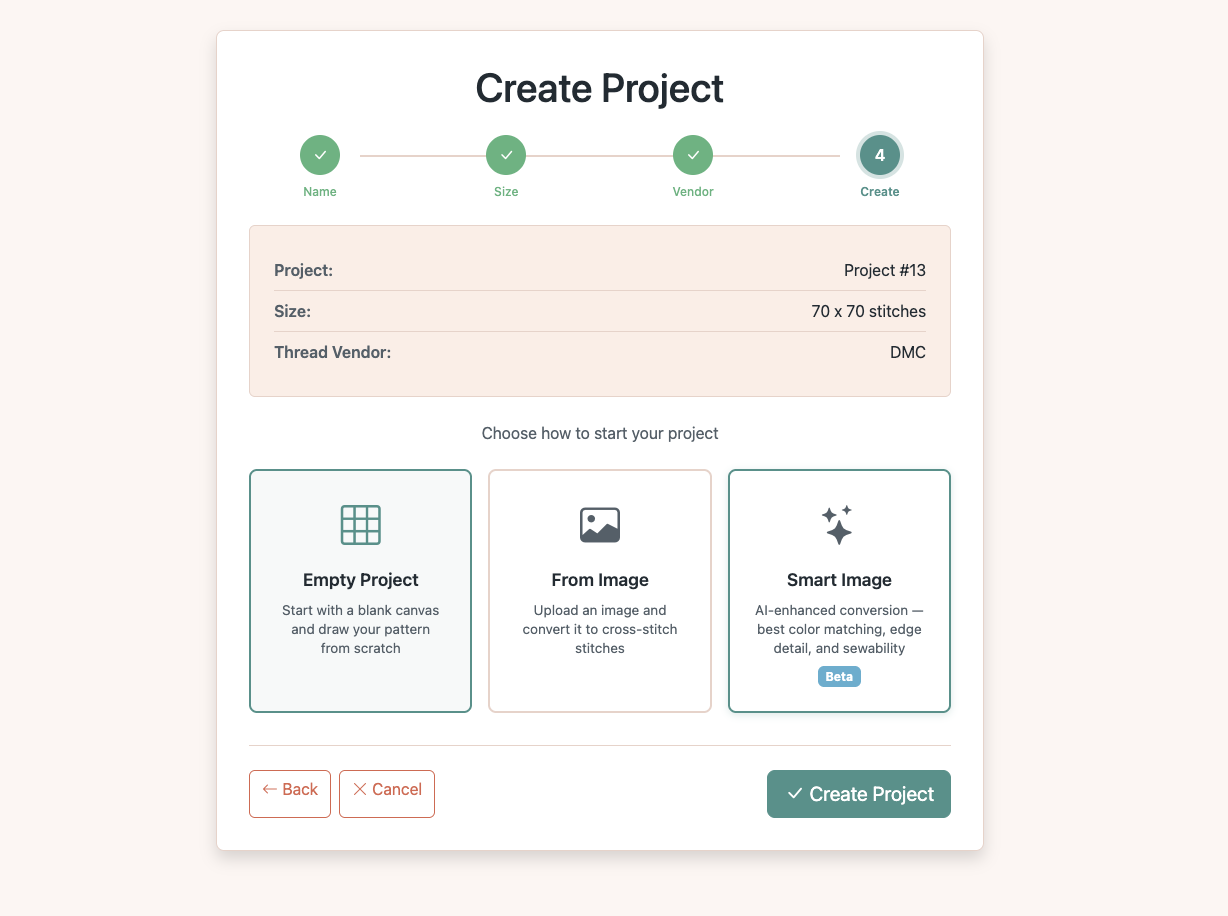
Choose "Smart Image" conversion
On the final wizard step, you'll see three options: Empty Project, From Image, and Smart Image. Choose Smart Image for the best results — it uses advanced color matching and edge detection to create cross stitch patterns that are faithful to the original.
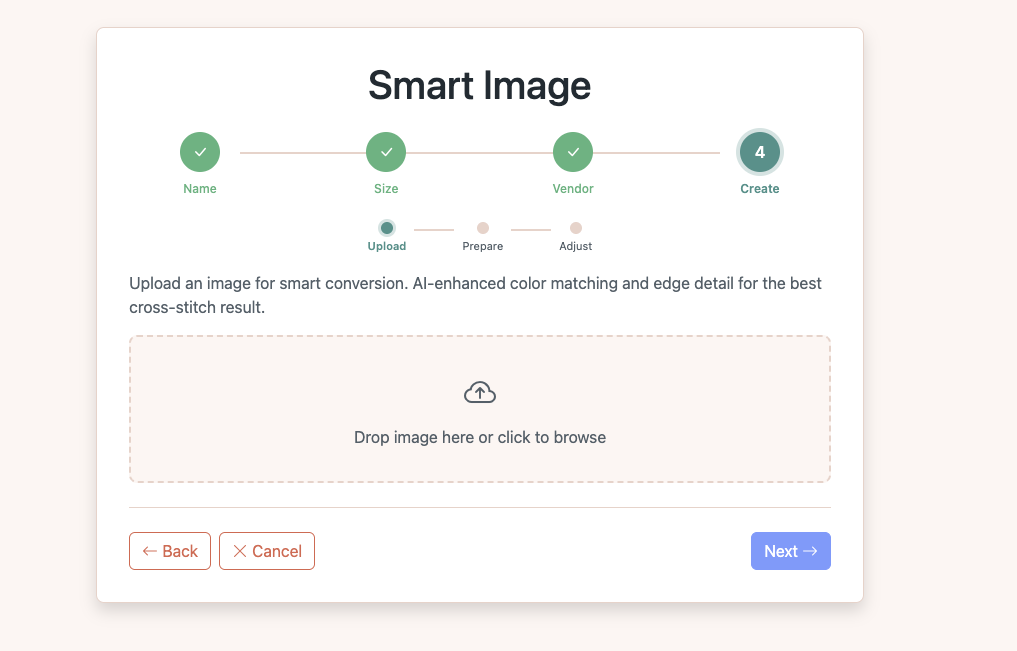
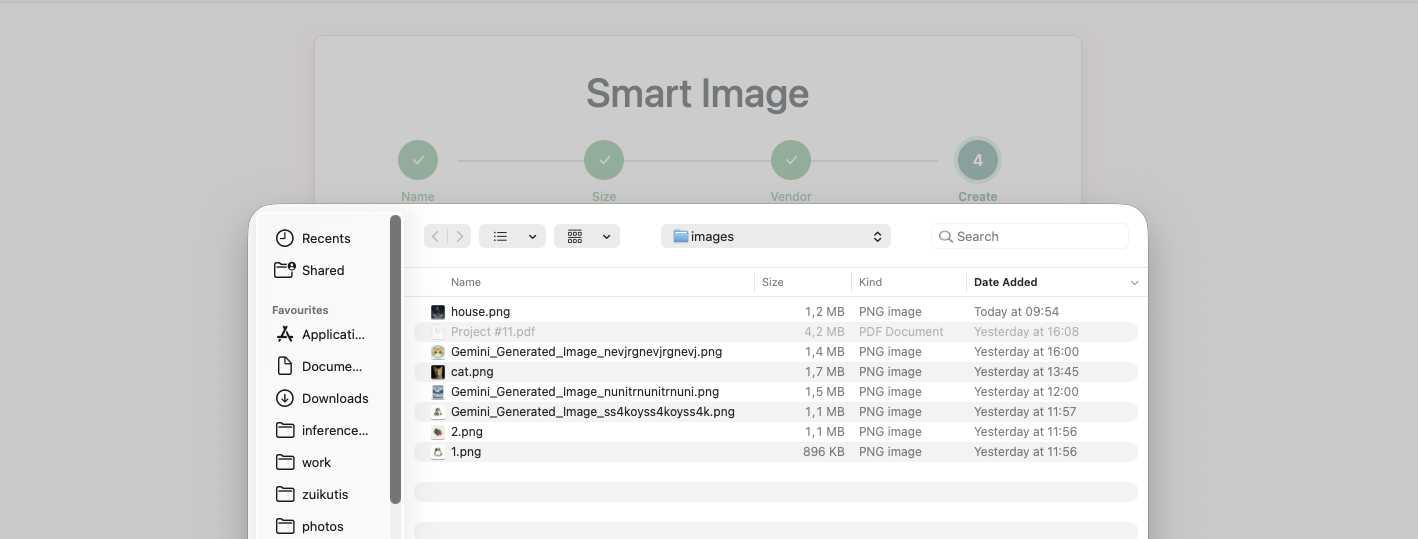
Upload your image
Drag and drop your image file or click to browse. JPG, PNG, and GIF files are supported (up to 16 MB).
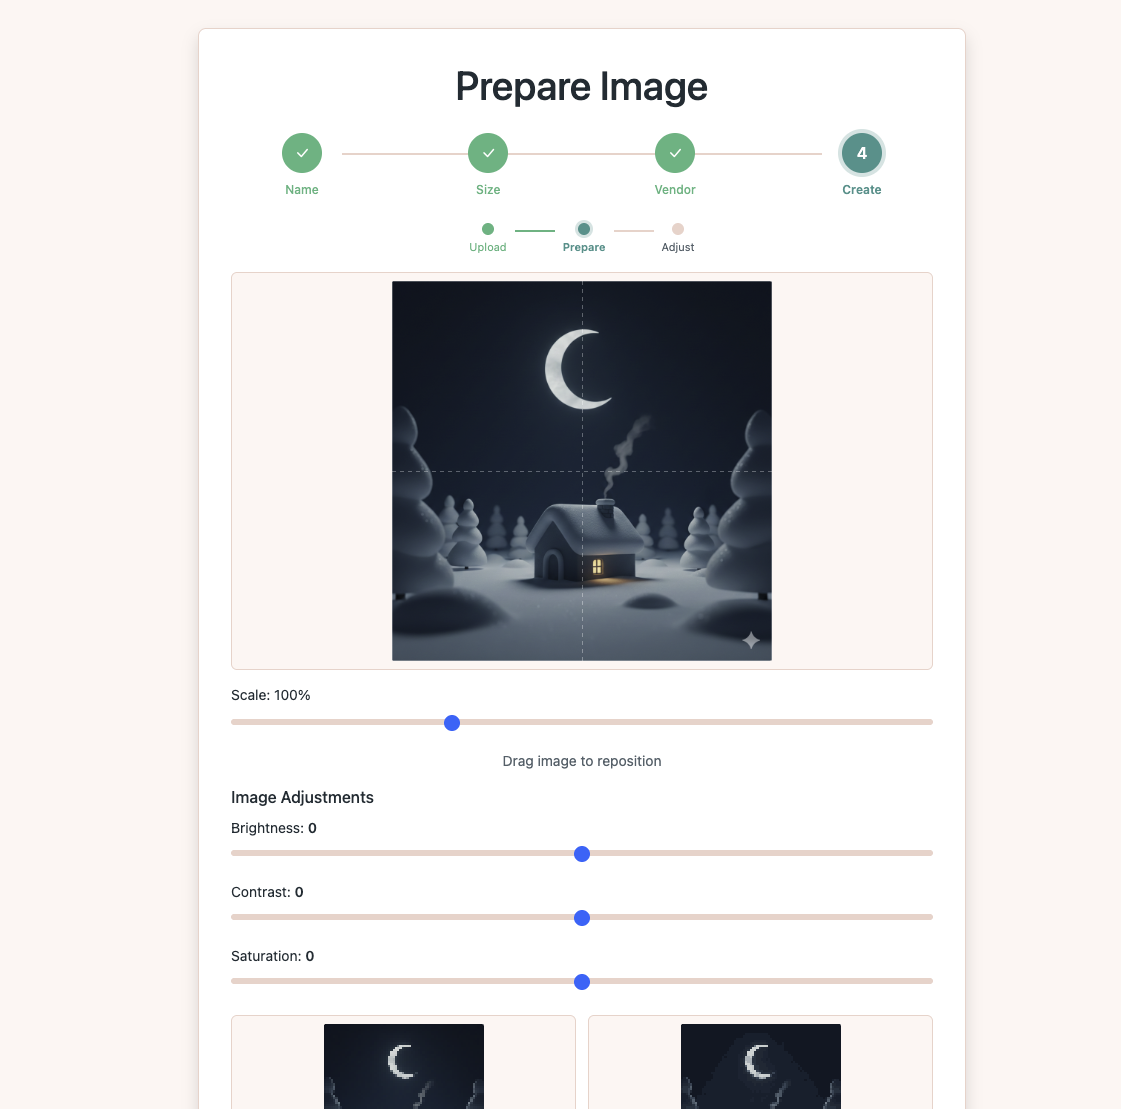
Position and scale the image
The Prepare Image screen lets you position your image on the pattern grid. Use the Scale slider to zoom in on the area you want to stitch. Drag the image to reposition it within the frame. The grid overlay shows exactly which area will be converted.
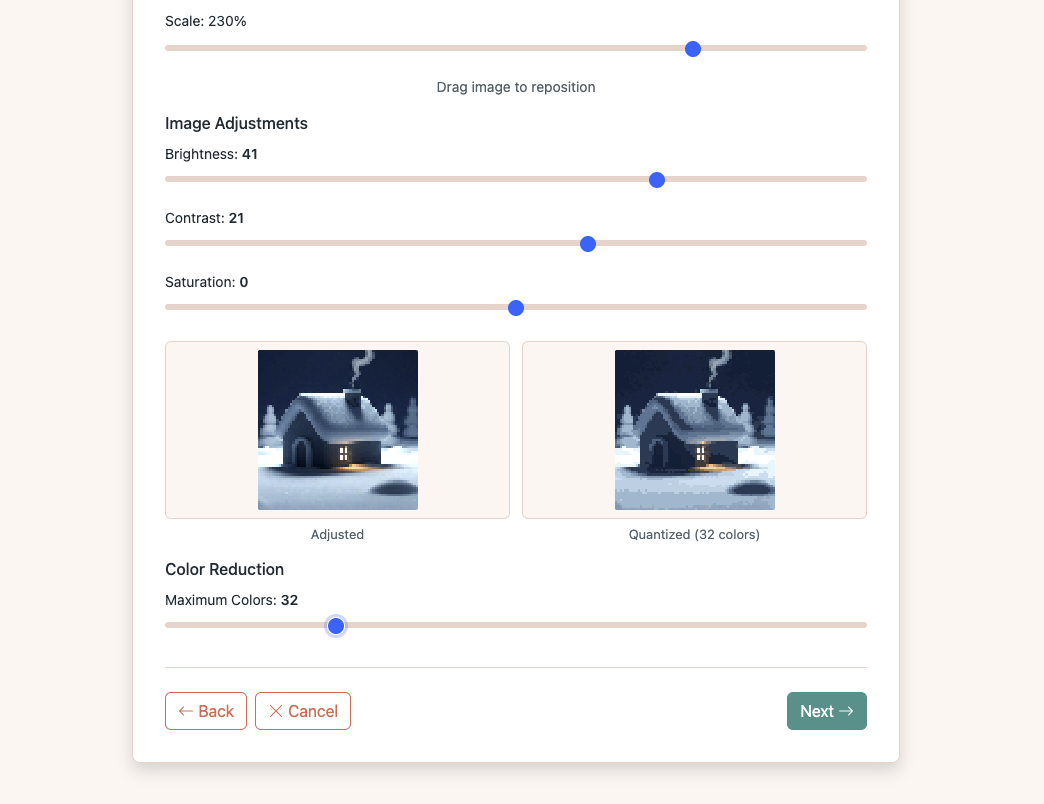
Here we zoom to 230% to focus on the house — the main subject of our pattern:

Adjust brightness, contrast, and colors
Scroll down to see the Image Adjustments sliders. Tweak Brightness and Contrast to make details pop. The live preview shows both your adjusted image and a quantized version reduced to the target number of thread colors. Set the Maximum Colors slider to control how many thread colors to use.
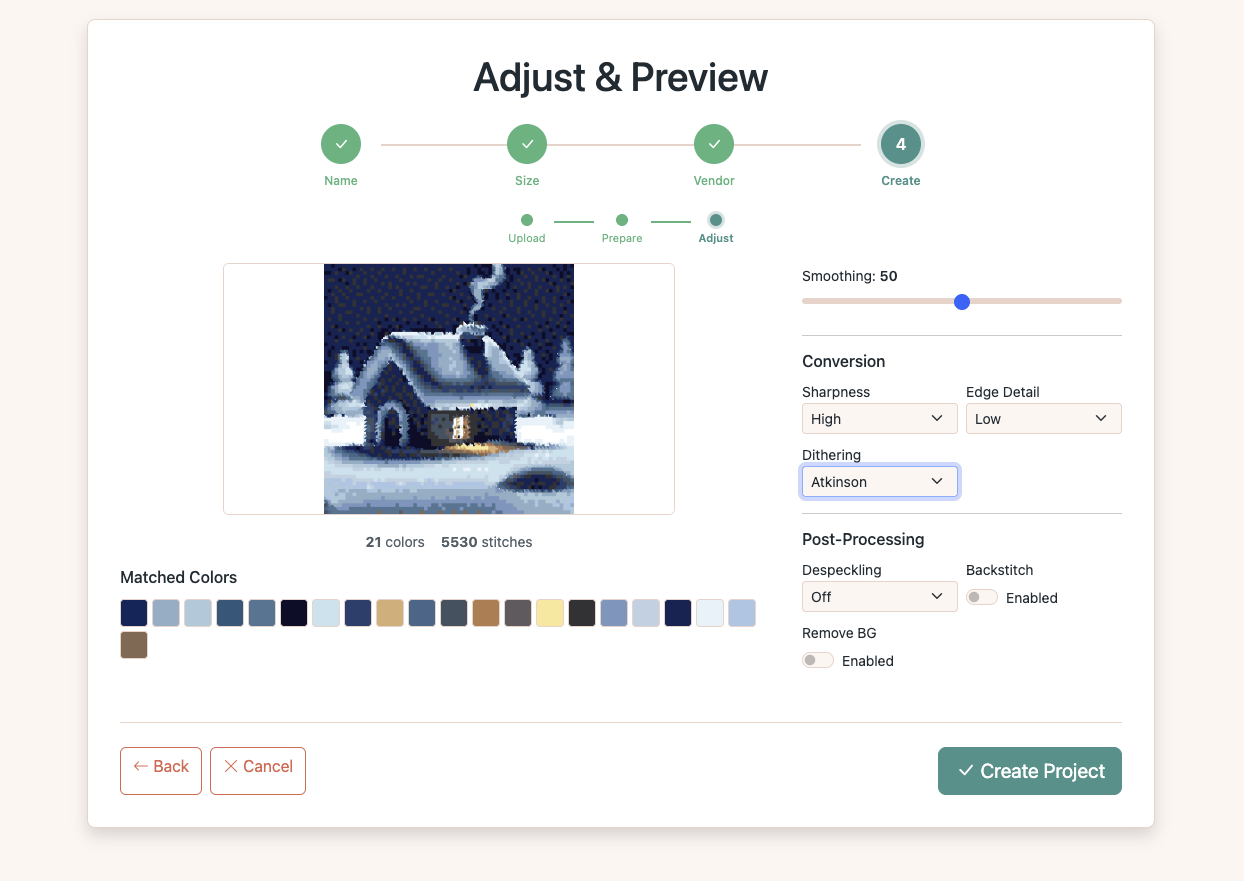
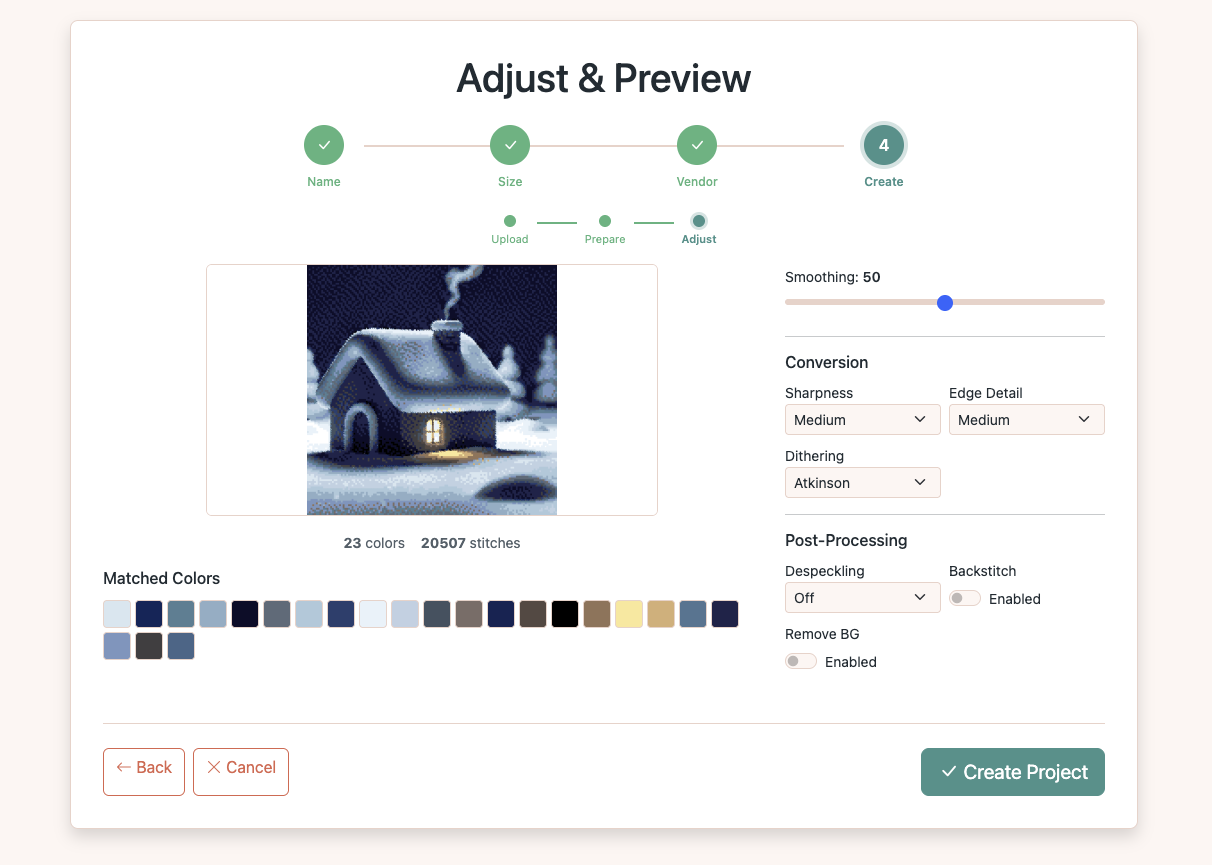
Fine-tune the conversion settings
The Adjust & Preview screen shows a live cross-stitch preview with the matched thread colors below. Use the controls on the right to refine your pattern:
- Smoothing — reduces noise in the pattern
- Sharpness — enhances edges and detail
- Edge Detail — controls backstitch line detection
- Dithering — blends colors for smoother gradients (Atkinson works well)
- Despeckling — removes isolated single-stitch specks
- Backstitch — adds outline stitches for definition
- Remove BG — removes the background color
Every change updates the preview instantly, so experiment until you're happy with how the pattern looks.
Tip: Go back and increase the size if your image is too detailed
After seeing the preview at 70 × 70 stitches, we realized the house has too much detail for such a small canvas — fine features like the window glow and chimney smoke were getting lost. At 5 × 5 inches on Aida 14, there simply aren't enough stitches to capture the scene.
The fix is easy: click Back to return to the Size step and increase the canvas. We doubled it to 140 × 140 stitches (10 × 10 inches on Aida 14). The wizard remembers all your previous choices, so you just change the size and click through to Smart Image again.
After returning to the Adjust screen with the larger canvas, the preview now captures far more detail — 23 colors and over 20,000 stitches:
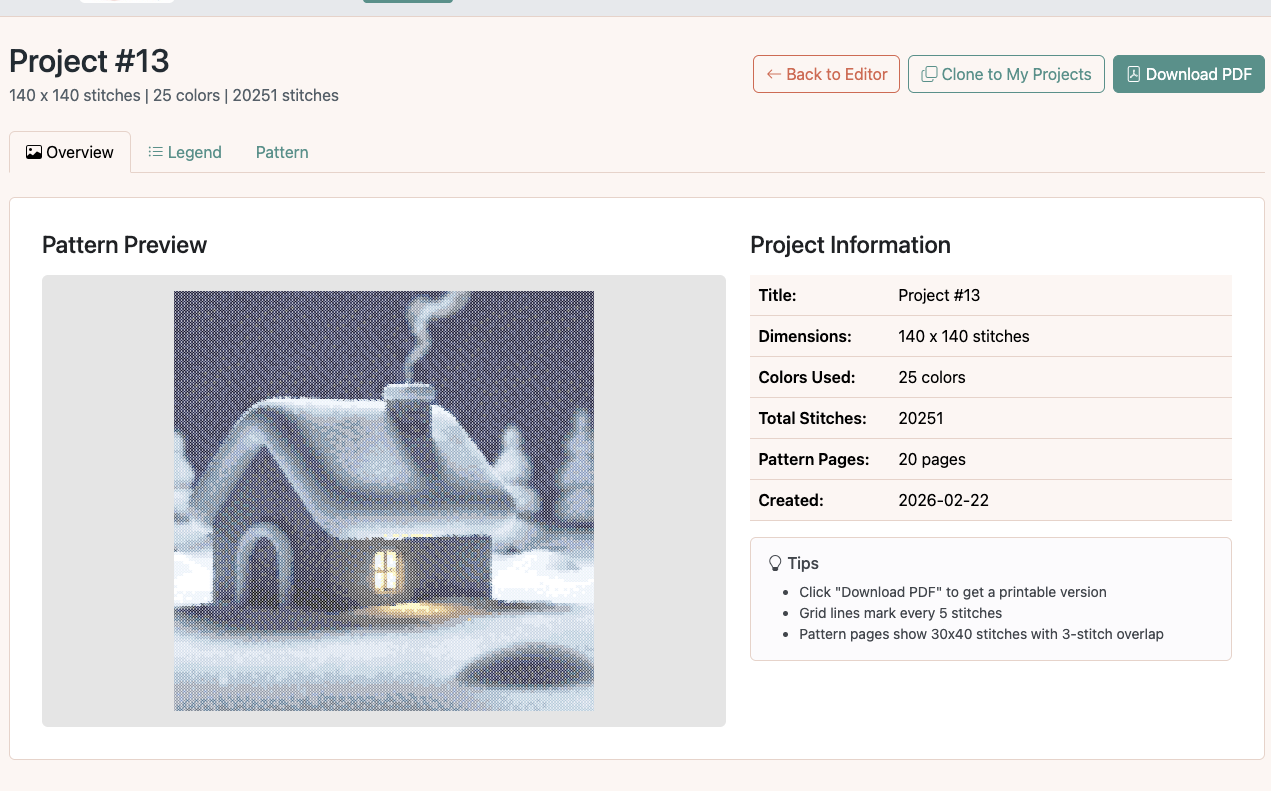
Create the project
When you're happy with the preview, click Create Project. OurStitch generates the full cross stitch pattern with a color legend, symbol chart, and thread list. You'll land on the pattern overview page.
Download the PDF
Click Download PDF to export your pattern as a printable document. Choose between Chart Symbol (colored grid with symbols), B&W (ink-friendly), or Stitch Preview (colored thread paths). The PDF includes a cover page, color legend with DMC thread codes and skein estimates, and paginated pattern grids.
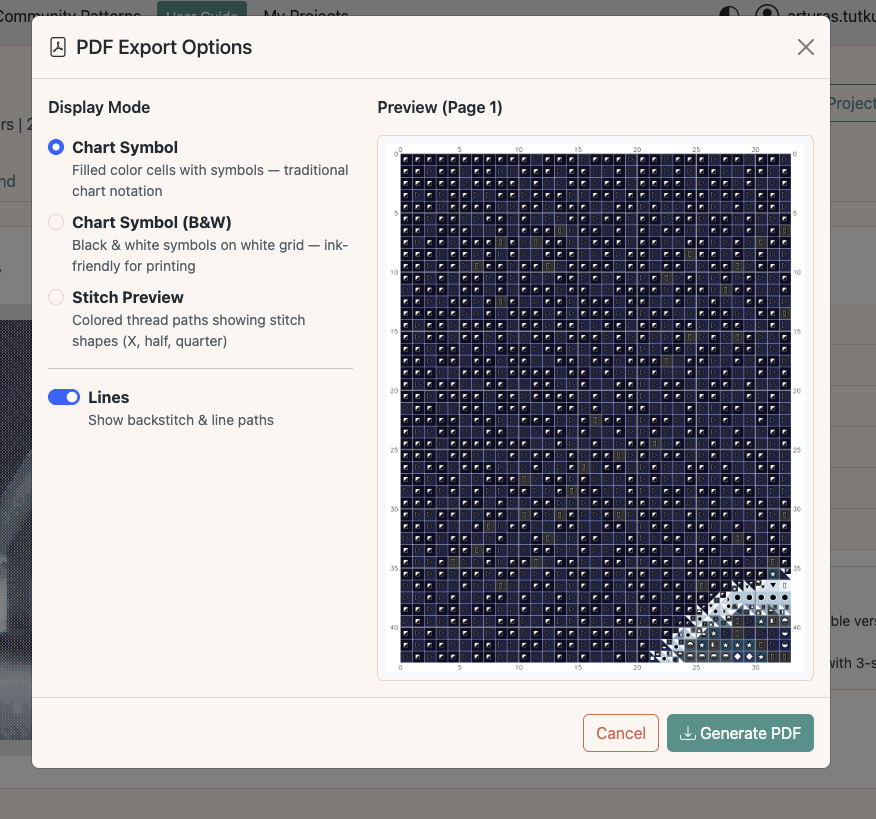
Here is the finished PDF from this guide — 22 pages with cover, color legend, and symbol chart grids:
Download the Winter House Pattern (PDF)What you get
Your finished custom cross stitch pattern includes:
- A full color legend with DMC thread codes, color swatches, stitch counts, and skein estimates
- Paginated symbol charts (30 × 40 stitches per page with overlap) for easy counting
- A printable PDF ready for your stitching project
- An editable project in the OurStitch editor — you can refine individual stitches, change colors, or add layers at any time
Ready to create cross stitch patterns from your own images? Start a new project now.